
Netflix offers hundreds of contents for your streaming pleasure. But, if you are facing an error message, it becomes frustrating not to continue watching your favorite movies or TV shows. Netflix has its share of error messages that users see if problems are arising. Two of these frequent issues are Netflix error T1-H1-W80072EFD and T1-H1-W80072F8A.
If you are streaming Netflix on Windows 10 computer, you might encounter the Netflix error T1-H1-W80072EFD or T1-H1-W80072F8A. Let us first know what these errors are about and then let’s discuss the possible fixes for them.
What is Netflix Error T1-H1-W80072EFD?
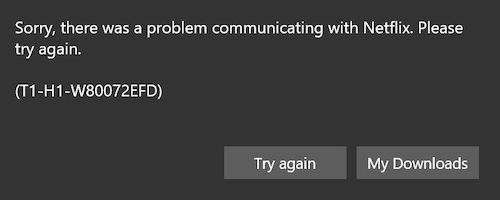
When you see the Netflix error code T1-H1-W80072EFD on Windows 10 desktop app, it means that something is blocking Netflix from streaming content. You will see the message, “Sorry, there was a problem communicating with Netflix. Please try again. (T1-H1-W80072EFD).”
One primary reason for this is that, you are may be connected to a VPN or a proxy service that blocks Netflix on your Windows 10 PC.
What is Netflix Error Code T1-H1-W80072F8A?
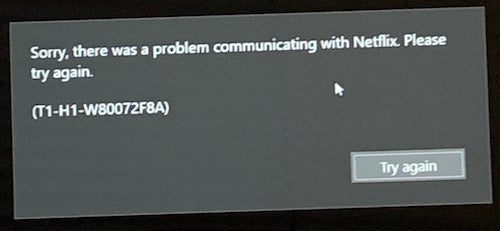
Encountering the Netflix error code T1-H1-W80072F8A will give you the error message, “Sorry, there was a problem communicating with Netflix. Please try again. (T1-H1-W80072F8A)”. Though this have similar error message with T1-H1-W80072EFD, it might simply indicate that you need to update your Netflix desktop app on your PC.
How to Troubleshoot and Fix Netflix T1 Streaming Error Codes on Windows PC
To fix the Netflix error T1-H1-W80072EFD or T1-H1-W80072F8A on Windows 10 PC, follow the solutions indicated below.
Update your Netflix Desktop App on Windows 10
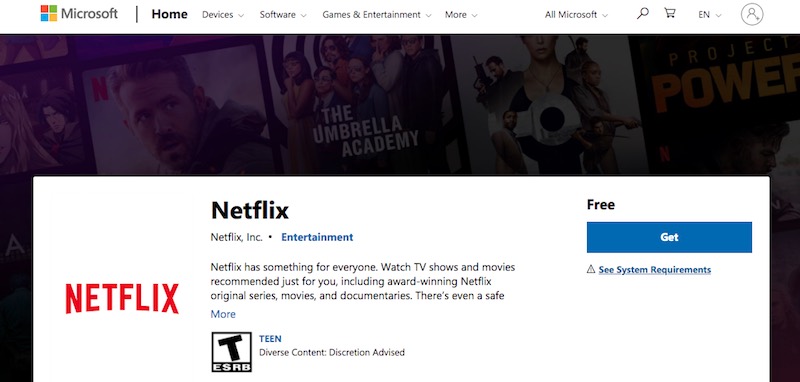
- Go to the Home Screen of your Netflix Windows app.
- Select Store from the taskbar.
- Go to Downloads or Updates.
- Click Check for Updates.
- Wait until available updates will show.
- Highlight the update and install.
Try to Disable your VPN Server or Proxy Service
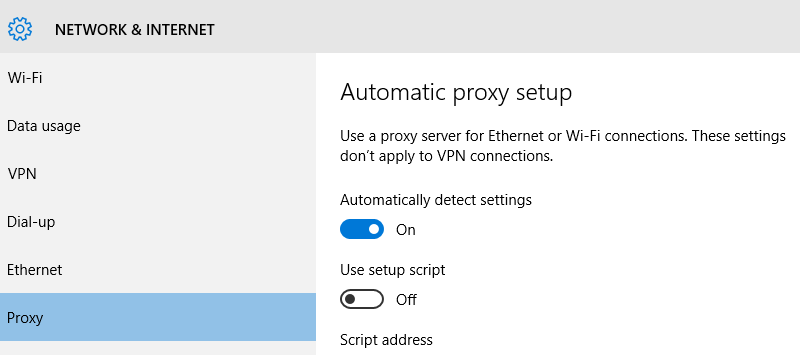
If you are using a VPN server, proxy or unblocker service, you can try to disable them first and try relaunching Netflix to see if it fixes the problem.
- On your Windows 10, navigate to the Settings menu.
- Go to Network & Internet.
- Look for the VPN.
- Right-click or select the VPN you want to disable.
- Select Disconnect.
If you really need to use a VPN service, you can check out any of the leading platforms in the market today. These are proven to work well with Netflix.
Change your PC Network Settings to Obtain IP Automatically
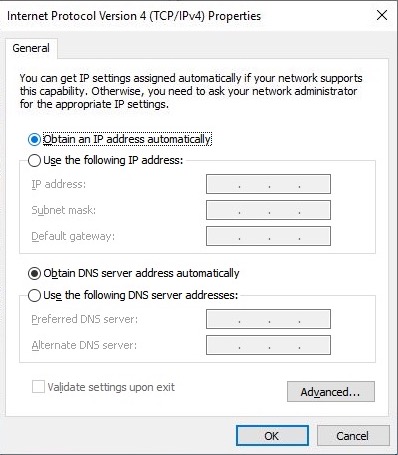
- Navigate to the Settings menu.
- Select Network & Internet.
- Go to WiFi.
- Click Manage known networks.
- Now, select the network you are using.
- Click Properties.
- Look for the IP assignment. Click Edit.
- Look for Edit IP settings. Set it to Automatic.
- Click Save.