Seeing the white or red lights on your Beats headphones blink without them turning on can be a concern. Unraveling the reasons behind this issue on Beats headphones is key to finding the right fix.
The solutions aren’t that difficult, and you’ll be surprised by how easy some are.

Best Tips to Resolve Beats Headphones Flashing or Blinking White or Red Light, Not Turning On Issue
Method #1 – Resetting Your Beats Headphones
Resetting your Beats headphones can often resolve issues like the blinking lights or them not turning on. Each model has a specific reset process, so it’s crucial to follow the right steps for your particular model.
Resetting Beats Flex:
- Press and hold both the power and volume down buttons for 15 seconds.
- Release when the LED indicator light flashes.
Resetting BeatsX:
- Hold the power and volume down buttons for 10 seconds.
- Release after the LED light flashes.
Resetting Powerbeats:
- Similar to BeatsX, press the power and volume down buttons for 10 seconds.
- Wait for the LED light to flash before releasing.
Resetting Powerbeats2:
- Connect to a power source.
- Hold the power/connect and volume down buttons for 10 seconds, then release.
Resetting Powerbeats3:
- Hold the power and volume down buttons for 10 seconds.
- Release when the LED flashes.
Resetting Powerbeats Pro:
- Place earbuds in the case with the lid open.
- Press and hold the system button on the case for 15 seconds or until the LED indicator light flashes red and white.
- Release the system button.
Adhering to these steps is vital for a successful reset. It ensures your headphones are correctly rebooted and ready to pair with your devices again.
Method #2 – Checking and Charging the Battery of your Beats Headphones
When your Beats headphones start flashing lights, it’s often a sign that the battery is running low. This is the headphones’ way of saying, “Hey, I need some power here!” Understanding this can save you a lot of guesswork.
To tackle this, first check the battery level. You can do this by connecting the headphones to your device. Most devices will display the battery level, giving you a clear picture of how much charge is left.
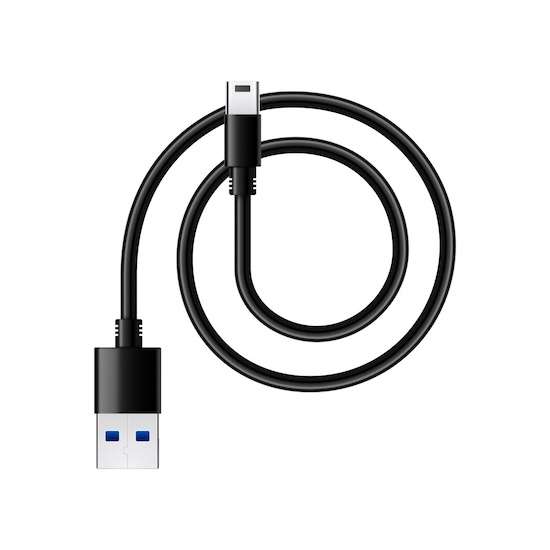
Charging your headphones is straightforward. Use the USB cable that came with them and plug it into a power source. A wall charger is usually more effective than a computer’s USB port for this job.
As they charge, the headphones’ lights will indicate the charging progress. Your headphones are fully charged once the lights stop blinking and show a steady light.
TODAY’S DEAL: Awesome offers are available on the latest Beats headphones when you purchase on Amazon and Walmart!
Method #3 -Troubleshooting Connection Issues on Beats Headphones

Having trouble getting your Beats headphones to connect can be a bit of a headache. This is often down to issues with Bluetooth or the wired connection. A quick check can get you back on track.
First, ensure your headphones are in pairing mode. This is crucial for them to communicate with your device. They won’t be able to connect if they’re not in pairing mode.
Next, check the range. Bluetooth connections have their limits. The connection can get sketchy if you’re too far from your device. Keeping your device within a reasonable distance from your headphones can make a world of difference.
If you’re using a wired connection, inspect the cable for any signs of damage. Even a small kink or tear can disrupt the connection. Swapping out a faulty cable with a new one can often resolve these issues.
Method #4 – Addressing Beats Headphones Software Glitches
Software glitches can sometimes be the culprits behind your Beats headphones acting up. These glitches can interfere with how your headphones operate, but thankfully, they’re usually fixable.
The first step in tackling software issues is to reset your headphones. This process can vary depending on your model, but generally involves holding down certain buttons until the LED light flashes. This reset can often clear up minor software hiccups.
If a reset doesn’t do the trick, the next step is to update the firmware. Firmware updates can iron out any kinks in the software. You can usually find these updates on the manufacturer’s website or through their companion app. Follow the instructions carefully to ensure a smooth update process.
Method #5 – Handling Physical Damage on Beats Headphones
Physical damage to your Beats headphones can cause a range of issues. Drops, knocks, or exposure to liquids can unexpectedly affect their functionality. It’s important to handle them with care to avoid such damage.
If you suspect physical damage, contacting Beats customer support is the best course of action. They can guide whether your headphones can be repaired or if they need to be replaced. Customer support is also the go-to place for understanding warranty coverage and potential repair costs.
Method #6 – Inspecting the Beats Headphones Charging Cable

A common issue that might not be immediately obvious is a faulty charging cable. If your Beats headphones aren’t turning on, the charging cable could be the culprit. A damaged or malfunctioning cable can fail to deliver the necessary power to charge your headphones.
To check if the cable is the problem, try using a different cable that you know works. If your headphones charge successfully with a different cable, then it’s clear the original cable was at fault.
Those blinking lights on your Beats headphones can be more than just annoying, especially when they disrupt your listening experience. However, there’s no need to worry.
With a range of solutions available, from resetting your headphones to checking the charging cable, you can easily address these issues. If you’ve tried these steps and the issue still persists, reaching out to customer support is a great next move.
BEST OFFER: Check out the latest deals on Beats headphones now on Amazon and Walmart!


